The Latest

Showing posts with label closet. Show all posts
**Future blog posts will be listed on my personal website at www.katsprint.com/blog**

Before my husband and I moved into our home, I claimed the smallest bedroom in the house to be my "closet". This room will someday turn into a baby's room, but for now, it's a closet. Over the past couple of years I've been making subtle changes here and there with a goal to make the room feel like I'm going shopping every time I enter the room. 

If you have a walk-in closet or a closet room, you should make this your goal, too. Next time you walk into a store, look around and take notice of the layout, colors, shelving, etc. Below are a couple pictures from my closet and what I did to get there.

Shoe Racks / Vanity
Shoe Racks
I have ALWAYS had a lot of shoes, and have struggled through the years with finding shoe racks that can hold the weight and also look nice. I think it's nice to be able to see all of my shoe options at once, otherwise I will forget I have them. After doing a lot of research on the best way to showcase your shoes without doing an entire makeover on the room, I purchased these 4 of these, ClosetMaid 5-Shelf Organizer - White from Target. It's best to find someone who has a target card so you can get the free shipping, otherwise shipping is SOOO expensive. 


What I liked about these shelves: 

  • Color: They are white, which is very versatile.
  • Quantity of shelves: Unlike most book shelves, these have 5, which are nearly perfect for most pairs of shoes. Most book cases out there come with huge gaps, for shoes, you just need a small area.
  • Size: I was working with a limited amount of space, and these shelves were a perfect size, no too big, and not too small. They also feel very secure without having to nail them to the wall.
What I did to better suit my closet:
  • I had to use white bars from my old shoe rack in order to get my heels to work with these shelves. Any heel that was taller than 3 inches needed to be hung or placed at the top of the shelves. Not that big of a deal, and I think they work great (I can always go back to the shelves if I want to).
  • Luckily these shelves have the ability to be stacked, and come with little wooden pieces to help them stack without moving.
  • No backing. I hate those white backings that come with these type of shelves, I also think it's nice to see through the back at the color on your wall (personal preference).


Vanity
I think every girl/woman should inherit, or own a cute, classy vanity. Mine was given to me by my great grand mother, and I plan to keep it until I can hand it down myself. A vanity adds a certain 'womanly' feeling to the room.

Vanity's also help store all of your beauty items. Personally, I think it looks sloppy to have all of your makeup and hair items sitting out for all to see.


Leggings, Purses, and Scarves
Leggings
This year I started purchasing more leggings, and I wear them all of the time. I got these two small black baskets from the Dollar Tree, and rolled the leggings up in them. They look cute, and are easy to access.


Purses/Scarves
Other items I seem to be collecting are purses, clutches and scarves (we will get to the clutches in a second). You can't see them in the picture, but I purchased 5 Gatehouse 2-Pack Double Clothes Hooks from Lowe's and simply hung them from the hooks. A good way to get the purses to hang freely is to stagger the hooks, left to right.


Closet Organization
Color Code your Clothing
This will make your life so much easier. You can even take it one step further and organize by type, too. For me, one of the first thing I decide on are leggings or jeans, then I move to my top. So based on whatever color/type pants I've chosen, will help me determine the color and type of shirt.

I also have bins at the top which are categorized by work-out clothes, tanks, pants, undergarments, and sweaters. Bins are always a nice organizational tool, too.


You'll notice there are some more shoes at the bottom of the closet. Like stores do, I took my flip flops/gladiators and stacked them in 2 wicker bins. This will be so much nicer come summer time when i am deciding which ones to wear.


Clutches/Belts
Again, I love to have my accessories out in the open for me to see. I will admit that these are not all of my clutches, I do have some of them stuffed in the hanging purses. I hung 2 Ribba Photo Ledges from Ikea on the wall (psst, they come in 2 sizes, 21 and 45in.) and then carefully stacked my clutches on top of them. Each ledge can hold 11 pounds, so don't worry about the weight part.

For my belts, I simply hung them from 2 wooden hooks that were given to me by my mom. You could also purchase more of the hooks I mentioned above and hang them from there, too.


These subtle changes will help make a tiny bedroom feel like your own clothing store each time you walk in. There are a couple of other ideas I have in the future, check them out below:

Future Ideas
Lighting // Purchase a cuter lighting fixture, like a chandelier

Wall Color // I liked it when we moved in because it is so bright, but now I am thinking I want to tone it down to a more neutral color.

Curtains // Right now I have some nice full length curtains (always purchase full length if you want to make your room feel taller) that are brown. I would like to allow for more light to show through, but with maintaining privacy at the same time.


**Future blog posts will be listed on my personal website at www.katsprint.com/blog**

Like many, our linen closet was tucked away in our hallway, collecting miscellaneous items and semi-serving its purpose. In my last blog post, I changed our end closet into a showcase, and in this blog post I'll show you how to turn your linen closet into something nice to look at.

Step 1 // Paint
Choose whatever paint colors you want showing, remember there won't be any doors covering the closet anymore. I choose the same eggshell color and gray color from my last project (they are in the same hallway).


Step 2 // Add Shelves
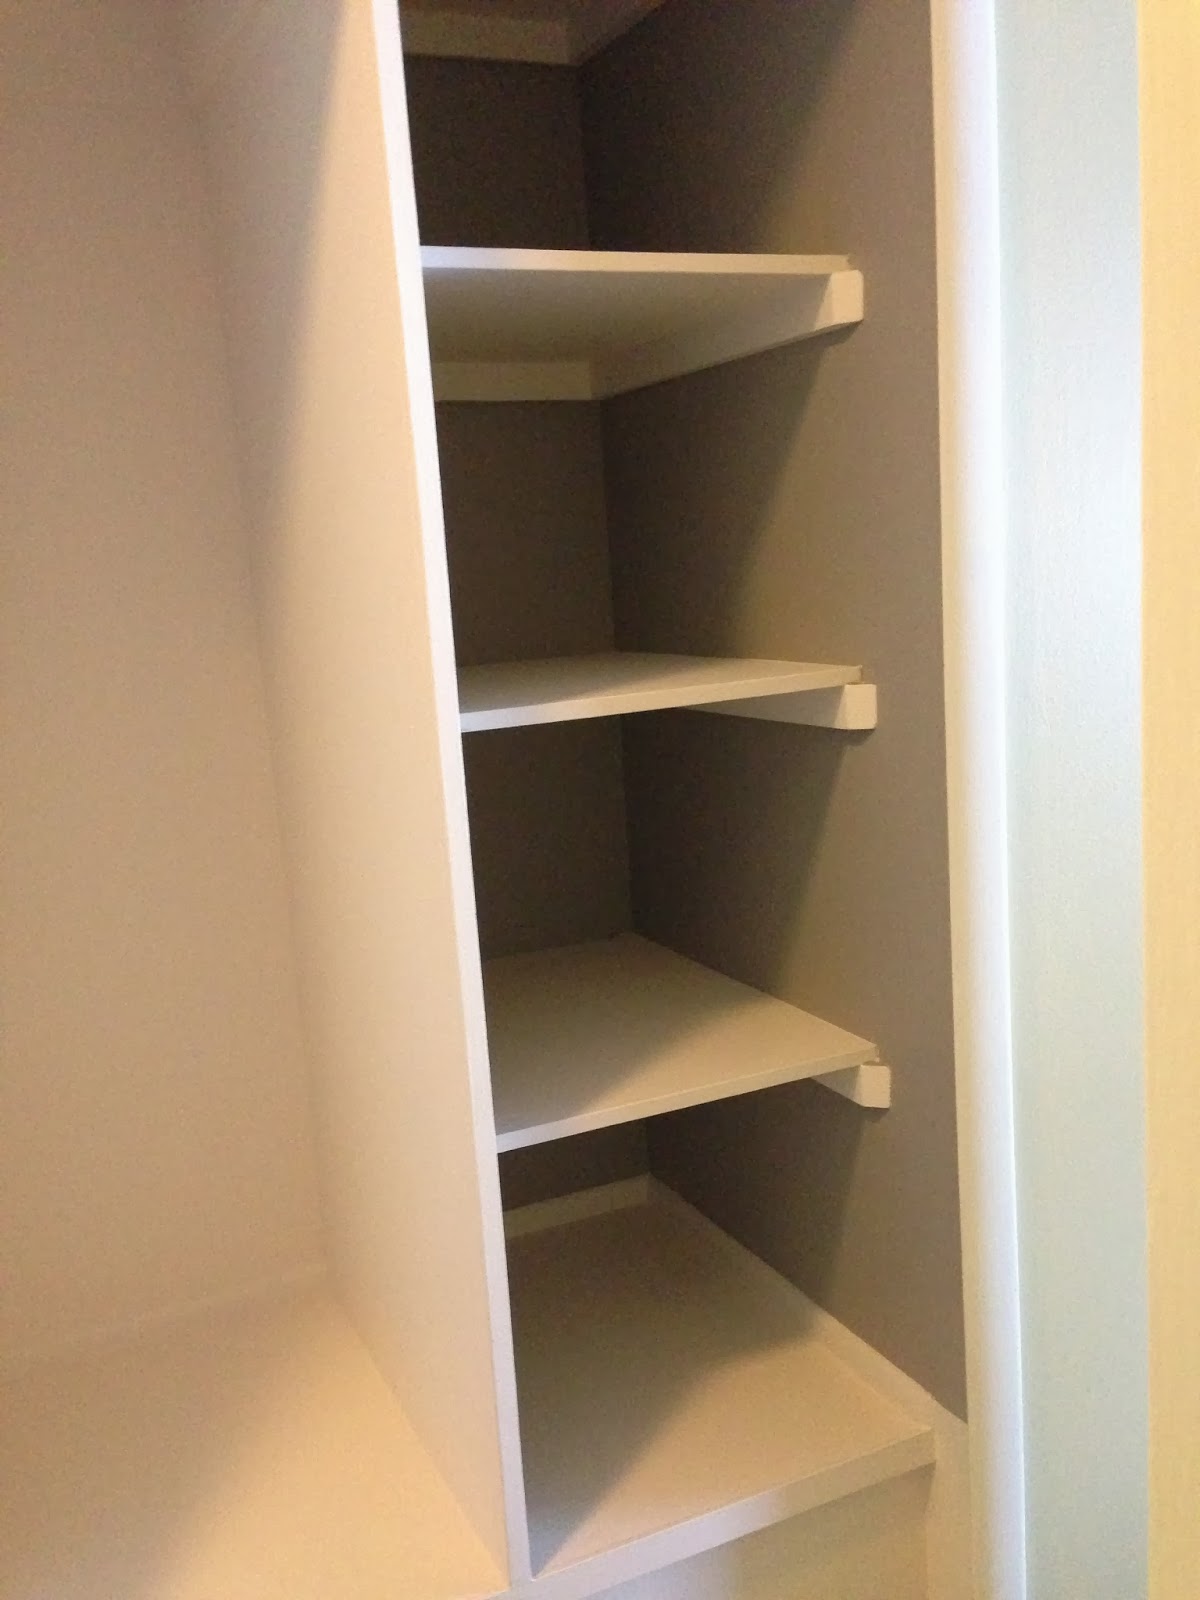
These shelves were made the same as they were in my closet update post. We also added a little bit of the wood from the new shelves to the front of the older shelves to tie them together.


Step 3 // Organization, Baskets and Bins
I ended up taking everything out of the closet, then organizing everything into 8 categories. To add a little style, I wanted to have 2 different kinds of bins; one wire and one cloth. We ended up going with white baskets from Ikea and yellow baskets from Crate and Barrel.


The Final Product
These subtle changes have really opened up our hallway and allowed us to add a little style in places you wouldn't typically see.


My husband and I moved into our home about 2 and half years ago. It's a cute little space, about 1,000 sq. feet of living area. One of the biggest obstacles we run into is making our home feel bigger, this artice talks about one project we recently did to make better use of our hallway.

Project One, The Hallway
This is the only hallway we have in our home and it has always felt very tight. There is a dinky cleaning closet at the end, and a linen closet to the right. We found ourselves not really using the dinky closet at the end of the hallway, and we were using the linen closet to dump various bathroom, personal, medical, you-name-it-can't-find-a-spot stuff.
GOAL: Convert the dinky closet at the end of the hallway to a showcase.
THE DEMO
Step 1 // Get Rid of Everything

Remove all elements from the closet (doors, shelves, trim, etc.) The shelf was a little tricky to do, I ended up hammering from the bottom-up to release the shelf.
! Helpful Tip !Easily remove the trim by using a razor knife to cut through the paint, then stick a flat head in the crease and tap on the end of the flat head with a hammer to help release the trim from the edge. Do this from top to bottom and begin prying the trim off.
Step 2 // A Light Sand
Take a piece of sanding paper and go over every spot that you ripped out to make the surface smooth.

Step 3 // Mud and Sand
Take a mudding spatula and mud over any area that was semi-damaged when removing the shelves, trim, door hinges, etc. ! Helpful Tip ! I chose to mud over the hinges, the other option is to cut out wood pieces, glue them in and THEN mud over those. After the mud is dry, using medium-grit sandpaper, smooth the rough areas - paying particular attention to the edges with gentle, even pressure. I had to go back and mud some areas again, this is normal, sometimes you do sometimes you don't!
THE CHEVRON PATTERN
Step 1 // Prime It
After the mud has completely dried, it must be 100% dry... use a nice primer and paint all of the walls, you may or may not need 2 coats, depending on how much mud you had to use and what the underlying color was before. ! Helpful Tip ! You must use a primer when mudding, using a "Paint + Primer" will not work and cause the paint to peel when you put painters tape on it.

Step 2 // Choose your Colors
Once the primer has had time to dry, you can now put your primary color paint on it. With my chevron pattern, I used an eggshell / light gray color. So first I painted the walls with my eggshell color, then let it dry. I only needed one coat since my primary color was so close to the primer color.


Step 3 // Create a Grid
You can do this by either measuring it out, or using something around the house that is square or rectangular (I used a small rectangular box). A lot of blogs tell you to put lines in using chalk, I used a pencil and put tiny dots at each corner of my rectangle box instead. Then take a ruler and connect the dots as follows, using a faint line (my quick example looks awful, I know).
After you've created the lines, use your lines as a guide for your painters tape. When you're done, be sure to note which area will be your current color and which will not, I did this by filling in the DO NOT PAINT areas with the extra tape I had to cut off to make my sharp edges. Whatever areas will be your secondary color (in this case the light gray), you will need to cut the tape so the edges are sharp.

Step 4 // Paint with Perfect Edges
I HATE painters tape because the edge never looks good, so finally I looked up the proper way to use tape and it was the best thing I've ever found. So here is the secret... Make sure the tape is firmly pressed onto the wall. Then take the primary color (in this case it's the eggshell color), and lightly paint on the tape edge that your secondary color will be painted on (the gray). You're creating a seal for the tape using the same color as the wall currently is. THEN paint the secondary color (the light gray) on top of that and on the rest of the areas that need to be gray.
Let the paint dry about 75% of the way, do another coat if needed, if not, begin removing the tape. You'll notice how amazing the lines are.
Now we are ready for our custom shelves and decorative elements!

THE SHELVING
Step 1 // Stain the Wood
You can do whatever color you want (I did driftwood from Lowes)
! Helpful Tip ! We ended up using brushes, the stain goes on a lot faster than with a cloth.
Step 2 // Cut the Wood
Cut it down to the width of your closet, then decide on how many boards per shelf. I did 3 because I wanted a little space between each board (this will allow light to shoot through each shelf). Step 3 // Build the Shelf Holders
We used old quarter rounds to hold the shelves (2 per shelf). Place quarter round at each spot you want your shelf, you'll need 2 per shelf. Then paint them the primary (eggshell) color.
AND...DONE! Our finished product included various pictures and items. We also added 2 sensor lights to the closet since our hallway is a little dark.
(LEFT) BEFORE  // (RIGHT) AFTER